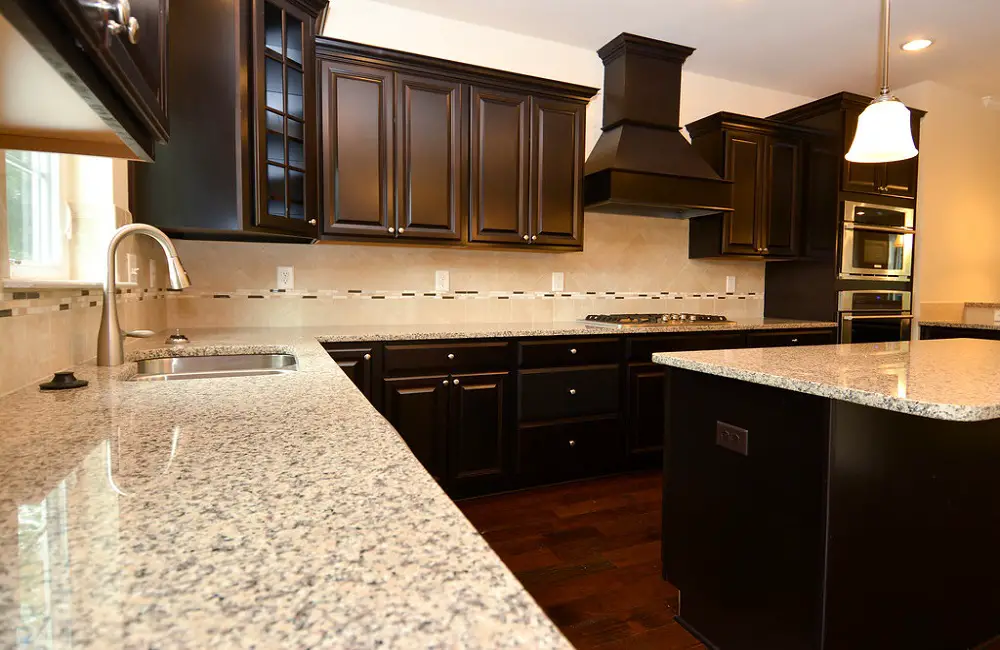
10 Things You Shouldn’t Be Storing On Your Kitchen Countertop
When it comes to kitchen countertops, most of us tend to have limited space. As a result, we tend to keep everything we use regularly on the countertop. But did you know that keeping certain things on your kitchen countertop can actually be unhygienic and make your kitchen look cluttered? Today, we’ll be discussing the 10 things you shouldn’t be storing on your kitchen countertop. Appliances You Rarely Use According to a 2018 survey conducted by MasterBrand Cabinets, a majority of Americans (60 percent) identified cluttered counter space as the primary cause of stress in their kitchens. Often, kitchen counters become a convenient dumping ground for miscellaneous items, leading to rapid clutter accumulation. Additionally, there are several kitchen essentials that are best stored away from the countertops. For instance, while it may seem logical to keep toasters, blenders, mixers, and other appliances on the counter, if they are infrequently used, it’s unnecessary to allocate valuable counter space to them. In fact, over half of the survey participants reported that appliances were the main contributors to their stress-inducing counter clutter. A helpful guideline to follow is to evaluate whether an item is used daily or during every cooking session. If it is not, it should not occupy counter space. If you find yourself unsure of where to store these items, consider implementing various kitchen storage hacks to maximize space efficiency. Papers According to the survey, stacks of papers are the second most common cause of counter clutter-related stress. This can be easily understood as it is often more convenient to toss day-to-day papers onto the counter rather than sorting through them. Whether it’s magazines, newspapers, junk mail, or important documents like bills, papers tend to accumulate quickly. Keeping papers out of your cooking space is not only important for maintaining a tidy look, but also for preventing potential issues. For instance, if papers, especially magazines, get wet while sitting on your countertop, there is a risk of ink transfer onto the surface. As Stephanie Cooper of Energy Cleaning cautions, dealing with this can turn into a cleaning nightmare. Therefore, it is crucial to be mindful of the presence of papers and take necessary measures to avoid such complications. Serveware From a cleaning standpoint, it can be quite challenging to wipe each item properly on a weekly basis. Moreover, it is not advisable to keep dusty objects near the area where food is prepared or consumed due to health reasons. Therefore, it is recommended to refrain from displaying fancy china and dinnerware that are only used on special occasions on your counter. Instead, you can consider storing them in a glass-front cabinet or even hanging them on a wall for decorative purposes. Similarly, when it comes to decorative trinkets and non-functional items, especially smaller ones, there are numerous storage options available that won’t compromise your cooking space. Prior to storing them, it is essential to know the appropriate method for polishing them. Canisters While it is understandable to desire prominently displayed canisters for commonly used ingredients such as sugar and flour, it is worth considering their potential drawbacks. These containers can occasionally be bulky and consume a significant amount of counter space. However, the decision of whether to store them in an upper cabinet or pantry ultimately rests on personal preference. Both options offer convenience in their own right. Spices According to Stephanie Bostic, PhD, a registered dietician and food safety expert, it may be surprising to discover that keeping your spice collection on the counter is not ideal. In particular, avoid storing spices near your oven or stove top as the accumulated heat can weaken their flavors over time. Instead, it is recommended to store them in a cool, dark place to prevent degradation of flavors caused by light and heat from sunlight or cooking surfaces. Knives It is important to consider the safety aspects when storing your knives. While fancy knife blocks may appear visually appealing and worthy of display, they may not be the most secure option, especially if you have young children in your household. To keep your sharp knives out of sight and out of reach of little ones, it is recommended to store them in a locked drawer. In addition to safety considerations, you may also want to take into account the limited space on your countertop. If you find that you rarely use most of the knives in your collection, having a large knife block occupying valuable counter space might not be practical. Olive Oil Olive oil and other types of oil can deteriorate in quality if exposed to direct light and heat. To maintain their freshness, it is recommended to store them in a cool, dark place like a cabinet or pantry. This applies not only to olive oil but also to other types of oil. Following these storage practices helps to preserve the taste and quality of the oils for a longer period. Junk Food Keeping guilty-pleasure snacks in visible and accessible locations increases the likelihood of grabbing them. To reduce temptation, it is advisable to store desserts and snacks in less convenient and less accessible places. This applies not only to yourself but also to other members of your household (especially kids). Furthermore, it should be noted that baked goods and candy can create stickiness and leave crumbs on your counter, which may impact the overall cleanliness and hygiene of your kitchen. Cleaning Products When it comes to food safety, it is crucial to keep in mind that mixing food and chemical-packed cleaning products is an absolute no-no. The risk of accidentally spilling these inedible substances onto your food or food preparation areas is something you definitely want to avoid. Even seemingly kitchen-friendly products, such as dish soap and disinfectant, should be stored in a designated closet or cabinet, especially after they have been opened. This precautionary measure significantly reduces the chances of any accidental spillage in your kitchen preparation space. Electronics With the growing popularity of smart home devices, like
10 Things You Shouldn’t Be Storing On Your Kitchen Countertop Read More »