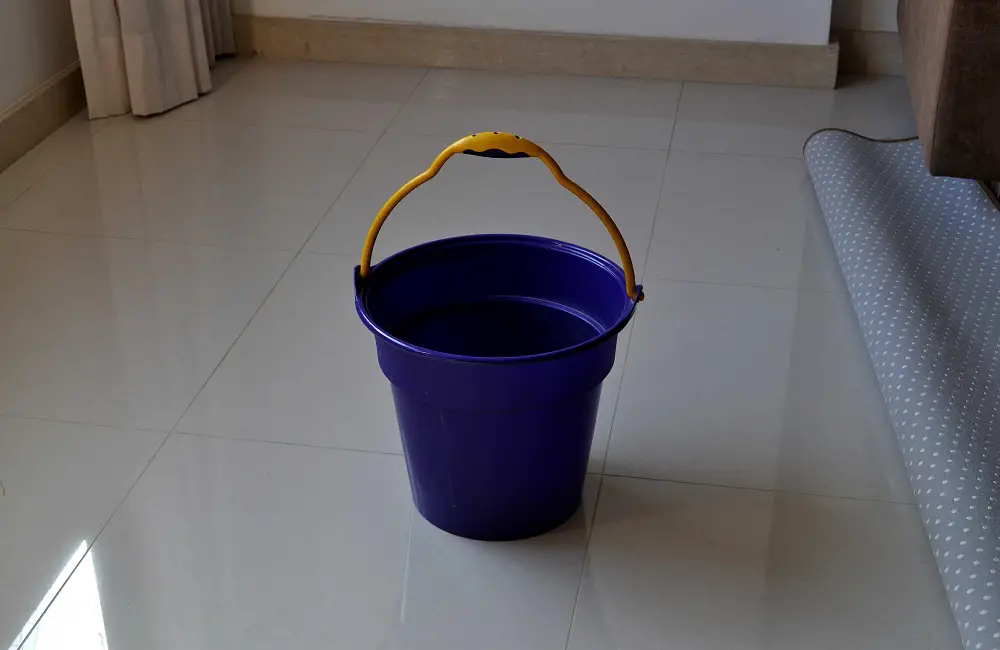
How To Clean Your Bathroom Bucket? 5 Easy Steps!
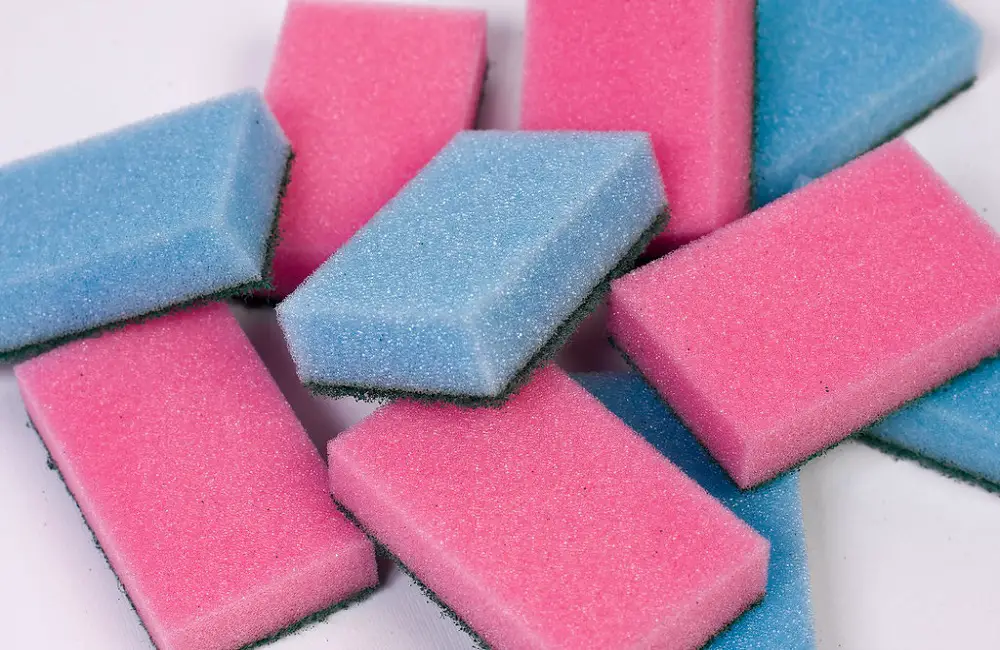
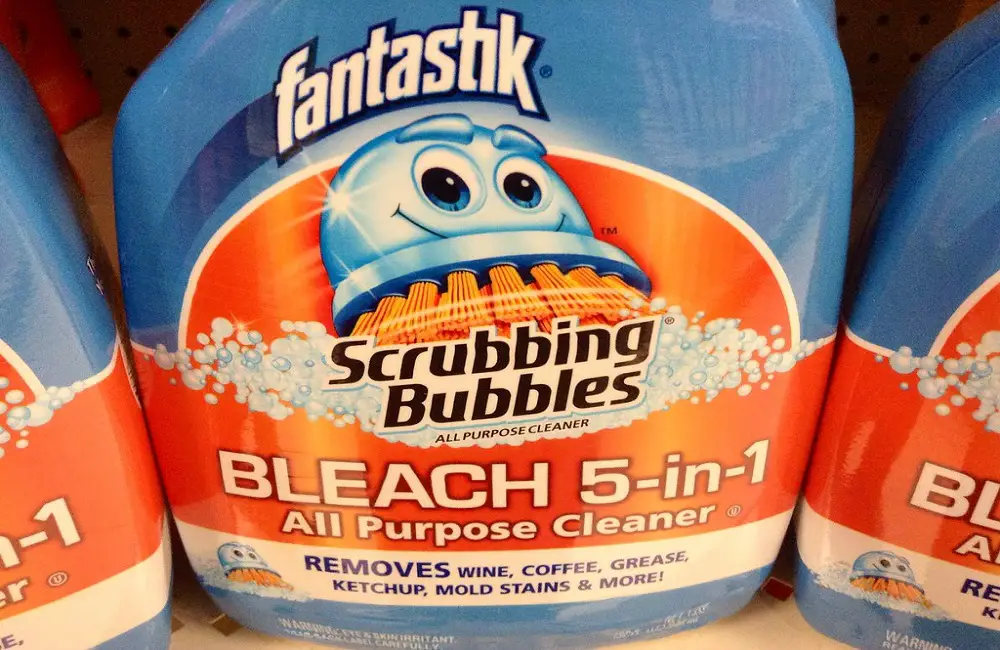
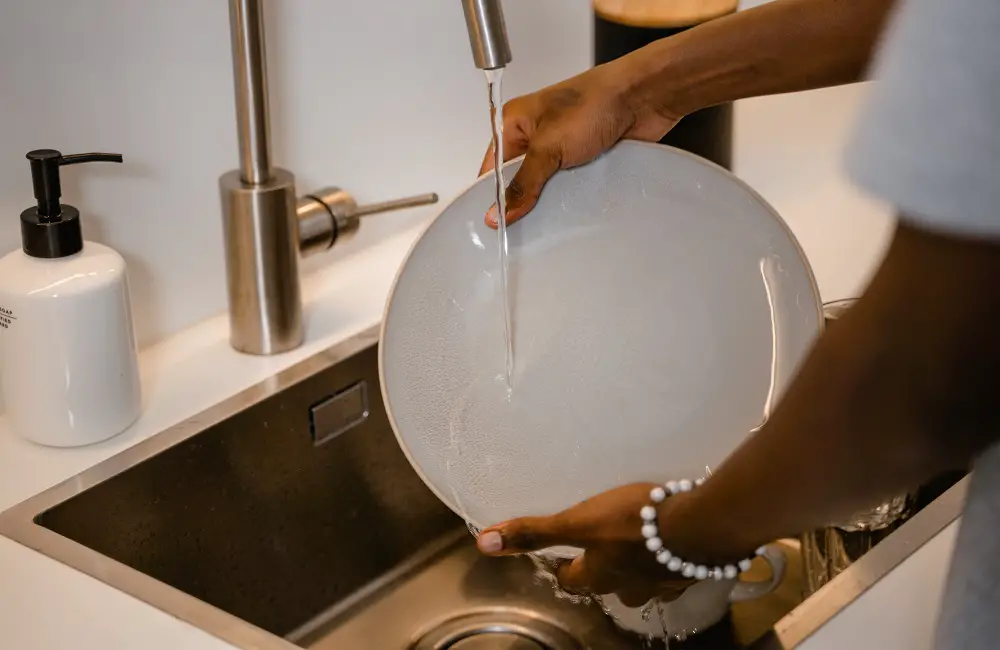
Cleaning the bathroom bucket may seem like a trivial task, but it can actually make a big difference in maintaining the cleanliness and organization of your bathroom space. The bathroom bucket is often used to carry and store cleaning products, towels, and other bathroom essentials which makes it prone to dirt, grime, and bacteria build-up. Today, we will walk you through the essential steps on how to clean your bathroom bucket effectively and efficiently. Why Do You Need To Clean Your Bathroom Bucket? Before we proceed to the steps on how you can clean your bathroom bucket, let’s first take a look at the reason why you need to clean it. Bathroom Buckets Harbor Germs and Bacteria Many of us carry out bathroom cleaning with a bucket to fill it with water or cleaning supplies. But what we often forget is that bathroom buckets are moist and used in proximity to germ-infested surfaces like toilets and bathroom floors, making them a potential breeding ground for bacteria, fungi, and germs. The stagnant water in the bucket can quickly become contaminated with fecal matter, urine, and microorganisms. In order to prevent the spread of germs and bacteria, bathroom buckets need to be cleaned regularly. Dirty Buckets Can Negatively Impact Your Health A dirty bathroom bucket can spell doom for your health. Germs, mold, and mildew can multiply quickly in a moist, warm environment like a bathroom bucket. Exposure to these contaminants can result in respiratory problems, skin infections, and even food poisoning. For those who already suffer from allergies and respiratory problems or have a weakened immune system, exposure to these bacteria can be even more dangerous. It’s essential to clean your bathroom bucket regularly to mitigate this risk. Maintaining a Clean Bathroom Bucket Is Easier Than You Think The good news is that cleaning your bathroom bucket is an easy task that can be accomplished in a few simple steps. Start by emptying the bucket and scrubbing it down with warm, soapy water. Rinse it well and dry thoroughly to prevent any moisture from remaining in the bucket. To sanitize the bucket, use a solution of water and vinegar or bleach, following the instructions on the product label. Be sure to rinse the bucket thoroughly after sanitizing and let it air dry. A Clean Bathroom Bucket Is More Hygienic and Affordable By keeping your bathroom bucket clean, you create a more hygienic environment for you and your family. Not only does this help to prevent the spread of germs and bacteria, but it also makes it easier to keep your bathroom clean. When your bucket is dirty, you may need to use more chemical cleaners to get it clean. With a clean bucket, you can reduce your reliance on harsh cleaning chemicals, leading to a healthier and more affordable cleaning regime. Cleaning Your Bathroom Bucket Should Be a Routine Cleaning your bathroom bucket is a task that should be integrated into your regular bathroom cleaning routine. The best way to make sure you don’t forget to clean it is by scheduling a reminder to clean your bathroom bucket once every week or two. You may choose to clean it more frequently if your bathroom is used frequently or if someone in your household has a weakened immune system. How To Clean Your Bathroom Bucket? These are the 5 easy steps that you can follow to clean your bathroom bucket effectively! Step 1: Empty and Disassemble the Bucket First things first, make sure that the bucket is completely empty before you start cleaning it. Then, disassemble the bucket components such as the lid, handle, and any other removable parts. This will make it easier to clean all sides and crevices of the bucket. Step 2: Soak the Bucket in Hot Water and Soap Fill a basin with hot water and add some dish soap to it. Soak the bucket and its parts in the soapy water for at least 30 minutes. This will help loosen any dirt and grime that has accumulated in the bucket. Step 3: Scrub with a Brush After soaking, use a soft-bristled brush to scrub the bucket and its parts. Make sure to focus on hard-to-reach spots and crevices. If there are any stubborn stains, you can use a mixture of baking soda and water to help remove them. For tougher stains, you can also use a bit of vinegar to help break down the grime. Step 4: Rinse and Dry Once you have thoroughly scrubbed the bucket, it’s time to rinse it off with clean water. Make sure to rinse the bucket and its parts well to remove any soap residue. Then, dry the bucket with a clean towel. If you have a metal or plastic bucket, make sure to dry it completely to prevent rust or mold from forming. Step 5: Disinfect the Bucket To keep bacteria and germs at bay, it’s important to disinfect your bathroom bucket regularly. You can easily make a disinfectant solution by mixing equal parts water and rubbing alcohol or bleach. Pour the solution into the bucket and let it sit for a few minutes before rinsing with clean water. Do You Always Need To Clean Your Bathroom Bucket? The short answer is yes. You should always clean your bathroom bucket after use. The primary reason behind this is that you use the bucket to contain dirty water, which can harbor germs and bacteria. If you leave the bucket uncleaned, it can lead to bad odors and encourage the growth of bacteria and mold. Moreover, dirty buckets can contaminate your cleaning tools, making them less effective. If you’re wondering how to clean your bathroom bucket, the process is quite simple. Rinse the bucket thoroughly with hot water until there is no more soap or cleaning solution left. Then, use a disinfectant to clean the bucket and let it dry before using it again. If you’re using bleach, make sure to dilute it before using it, and wear gloves to protect
How To Clean Your Bathroom Bucket? 5 Easy Steps! Read More »