
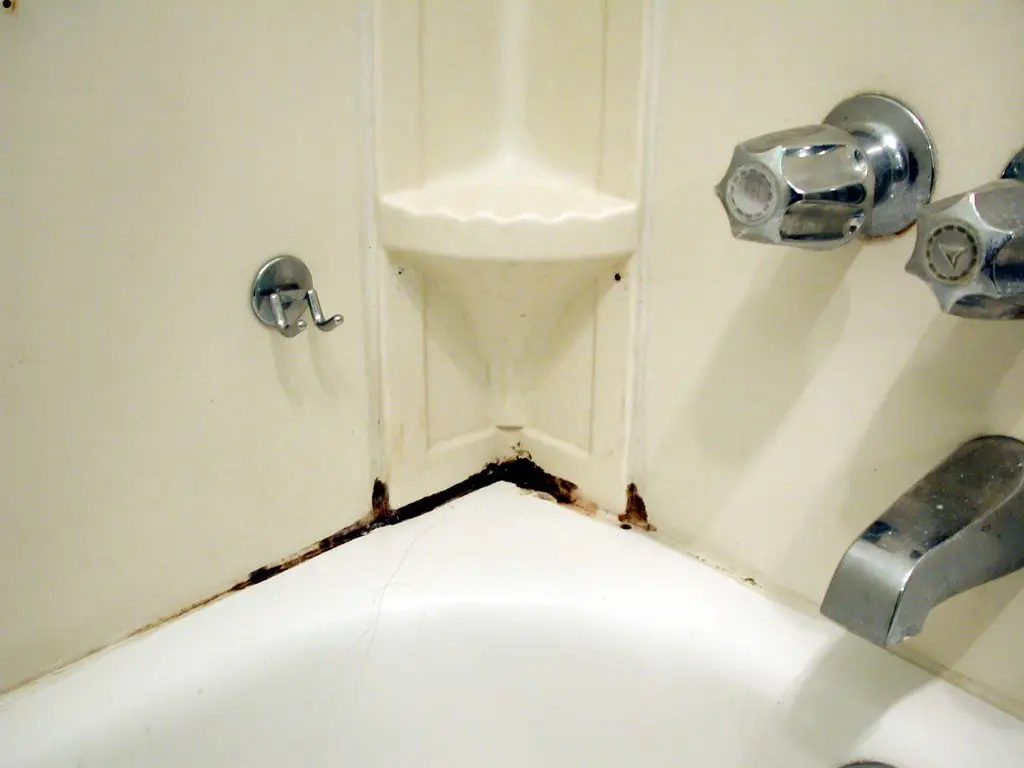
A few years ago, we replaced the tiling in our master bathroom shower. It looked fine at first, but after a while, the caulk began to develop mold.
I didn’t feel like removing all of the caulk, so I decided to clean the moldy caulk.
Mold may be easily removed from the shower caulk. It only requires a few household items and about an hour of your time.
If you want to get rid of the mold, follow this simple method on how to remove mold from caulk.
How To Remove Mold From Caulk
To remove mold from the shower caulk, you’ll need the following supplies. You’ve probably already got them at home.
Ingredients Needed:
- Power brush or old toothbrush (I like this power brush for cleaning).
- Disposable cup (or one you don’t mind tossing away)
- Baking soda
- bleach – (If you are not comfortable using bleach, I recommend this.)
If you don’t have a disposable cup, you can use a cup that can be discarded after use. You should probably avoid using a cup after the bleach mixture has set.
Note: Depending on how bleach affects you, you may also want to wear rubber gloves and a face mask to deal with the scent.
You’ll also need approximately an hour to let the bleach mixture set on the mold.
Mixing Up the Bleach Gel
Step 1: In a disposable cup, combine 1/2 cup bleach and 1 cup baking soda.
You might want to do a bit at a time for each. The quantity required will vary depending on the type of bleach you use.
Step 2: Stir until it reaches the consistency of toothpaste, which will allow it to adhere to the moldy caulk.
Applying the Cleaner To Moldy Caulk
Step 3: Once it’s blended into a thick paste, use an old toothbrush to apply it to the moldy caulk.
Make sure it’s thick enough to completely coat the caulk.
Step 4: Set a timer for 30 minutes and let it settle.
It smells really strong, so you may want to put on a vent in the bathroom or open a window to help with the fumes.
Step 5: After 30 minutes, examine the bleach mixture to ensure that it is still completely coating the caulk.
Step 6: Add extra bleach mixture to the caulk as needed. Then set a timer for a further 30 minutes.
Removing the Bleach Mix
Step 7: After the bleach combination has cured for an hour, use the toothbrush to scrub the caulk for a minute or two.
Step 8: Finally, rinse with warm water to remove the bleach mixture.
Make sure to thoroughly rinse the bleach mixture off the caulk and wash it down the drain. You do not want to leave chemicals in your shower.
If you still detect mold on the caulk, repeat the steps to ensure that it is completely removed.
You can see how just one use of this bleach mixture made a significant difference in my shower.
Preventing Black Mold & Mildew In the Shower
I am frequently asked what you can do to keep black mold and mildew from forming on caulk.
One simple thing you can do is to keep the moisture in the shower. When you finish your shower, leave the door or curtain open for a few minutes and turn on the bathroom fan.
This will help the moisture evaporate faster, preventing mold.
Another simple option is to spritz some vinegar in the shower. This will assist prevent mildew from growing on the shower caulk.
Unfortunately, vinegar is not as effective as bleach on black mold.
A regular shower spray is another excellent approach to prevent mold growth on shower caulk.
Final Words
With these few simple procedures for removing mold from caulk, you can have the moldy caulk looking like new again. The bleach mixture will not only eliminate mold spores, but it will also remove some stains from caulk.
