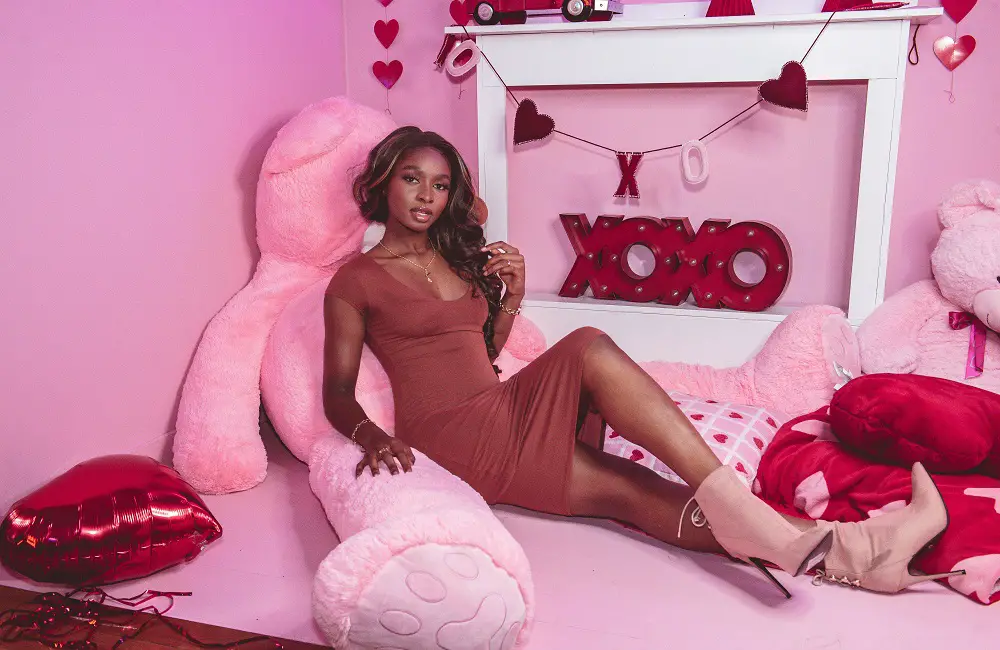
15 Baddie Bedroom Ideas That You Will Love
These 15 baddie bedroom ideas will help you channel your inner bad girl and transform your sleeping quarters into a bold, edgy sanctuary. In this post, we’ll look at strategies and inspiration for designing a bedroom with attitude, from sensual color schemes to provocative furnishings. Prepare to liven up the drama in your personal sanctuary. We’ll look at how to make a statement using eye-catching wallpaper, neon lighting, and shiny surfaces for a nightclub atmosphere. Balance the dark and daring approach with feminine details such as luxuriant bedding, faux fur, and flower decorations. These baddie bedroom ideas, which include displaying your favorite heels and establishing a glam vanity area, can help you unleash your inner rebel. Defining the Baddie Bedroom Aesthetic Your bedroom is more than simply a place to sleep; it reflects your outgoing and edgy attitude. The baddie aesthetic mixes luxury and a rebellious mentality, with bold colors and dramatic lighting. Color Palettes and Bold Contrast Lighting and Ambiance for Drama Furniture and Layout for Statement Your bedroom furniture and layout are critical in making an impactful visual statement. Choosing strong furniture items and a planned layout will define the atmosphere and functioning of your room. Choosing Bold Furniture Choose furniture that makes a statement as soon as you walk into the room. Consider a trendy platform bed as a focal point, with a headboard in rich velvet or leather. Statement chairs and nightstands in glossy surfaces or with metallic elements can complete the appearance by creating a sense of elegance and edge. Prioritize the following qualities while selecting your furniture pieces: Strategic Layout for Impact The way you arrange your furniture can significantly alter the ambiance and perceived size of your space. Leave enough room around crucial objects so they may breathe and become focal points. Here’s how to optimize the impact: By carefully selecting and placing outstanding furniture, you may boost the look of your bedroom and create a baddie environment that reflects your personal style. Accessorizing with Attitude For a bedroom that makes a statement, thoughtful accessorizing is essential. Choose things that represent your distinct style and foster an environment of uninhibited self-expression. Wall Art and Decor Your walls are the canvas for your personal gallery. Choose strong artwork that fits your baddie aesthetic, such as abstract posters or street art in bright colors. Add a touch of sophistication with metallic frames, or show your favorite words in neon lights for an edgy vibe. Textiles and Fabrics Play with textures to create depth in your space. A faux fur throw or a velvet cushion may instantly transform your room. Here is a brief list of textiles to consider: Edgy Accessories for Personal Touch Accessories are the little details that make your room unique. A sleek, modern clock or avant-garde artwork might spark a debate. Don’t be afraid to try something different, such as:
15 Baddie Bedroom Ideas That You Will Love Read More »